Step 1: Add Numbers to Excel with Country Code
Open Excel and create a spreadsheet with these headers:
- Recipient Data.xslx
- Phone Number (include the country code, e.g., 91 for the India).
- Ensure all phone numbers are properly formatted with the correct country codes.
- Save the Excel file in a location you can easily access.

Step 2: Launch WhatBotify
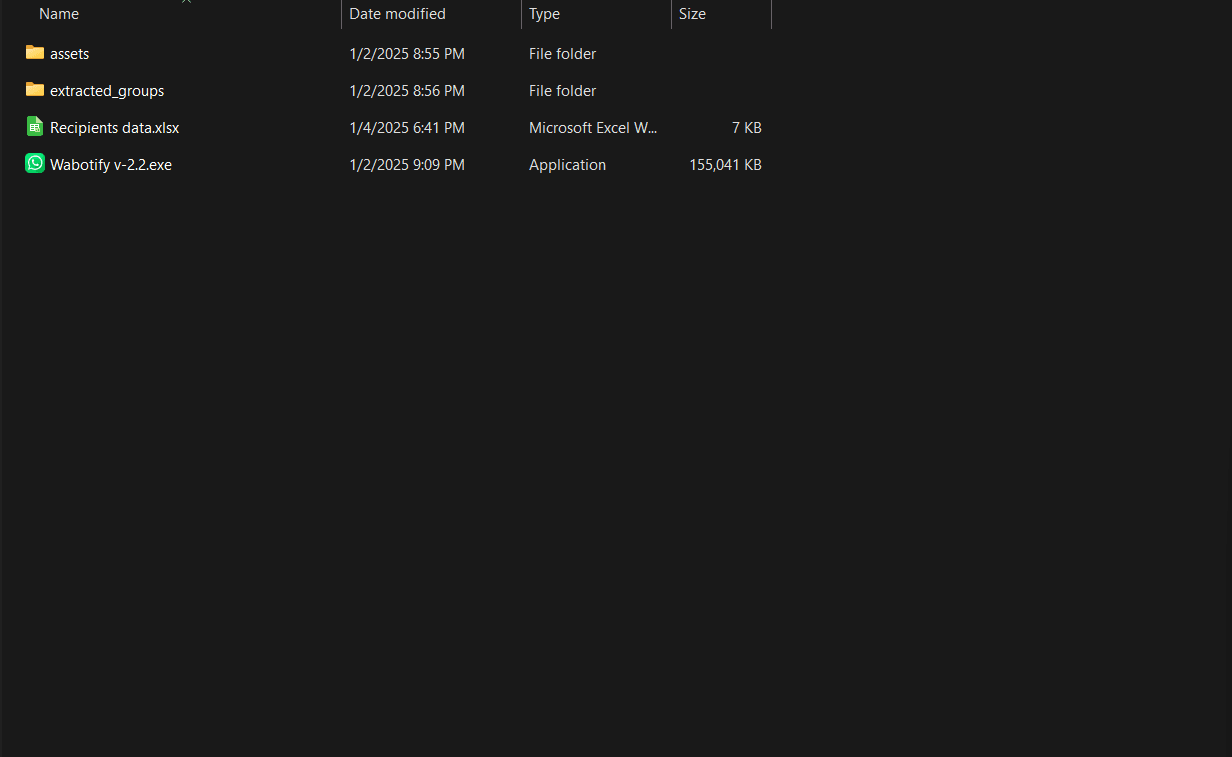
- Locate the WABotify.exe file on your computer.
- Double-click the file to launch the WhatBotify application.
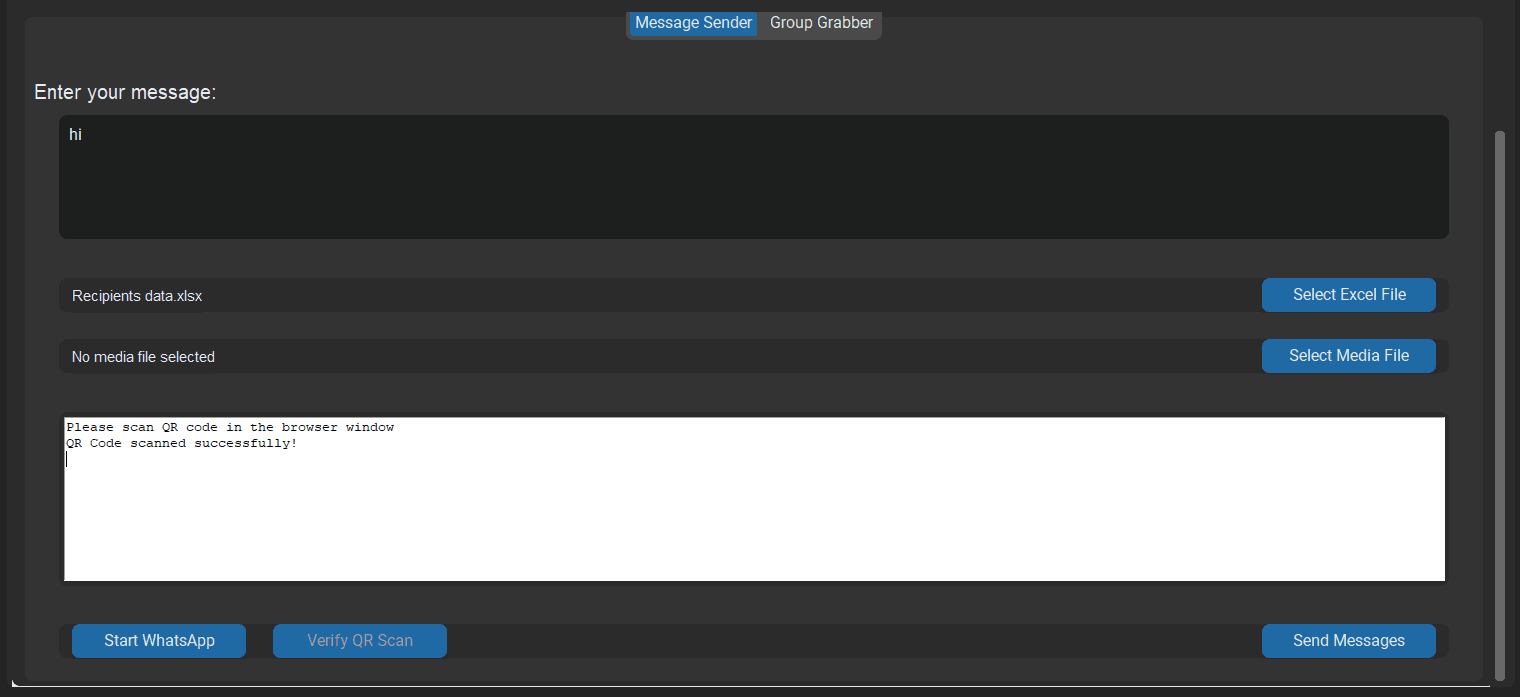
Step 3: Type the Message
- In WhatBotify, find the Message Box section.
- Type the message you want to send to your recipients.
- Ensure the message complies with WhatsApp’s policies.
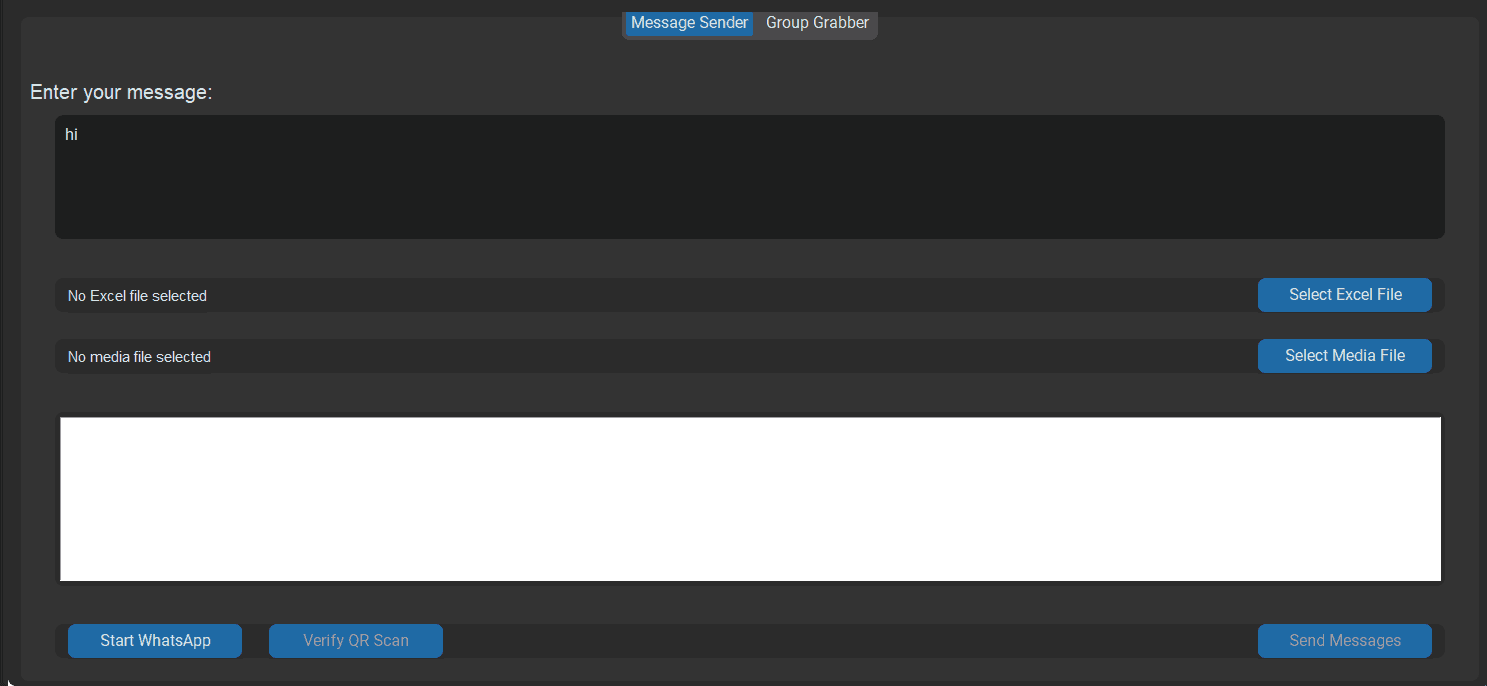
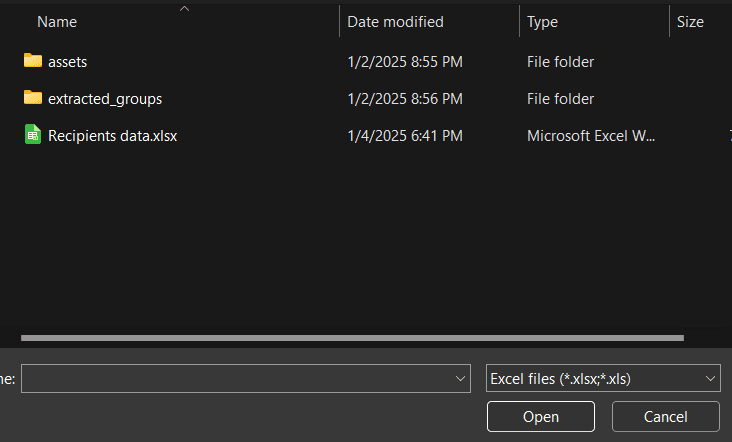
Step 4: Select the Recipient Data
Excel File Click on the Select Excel File button. Browse your computer to locate and select the Excel file containing recipient data.
Step 5: (Optional) Attach Media
If you want to send media with your message:
- Click on the Select Media button.
- Choose the media file (image, video, or document) you want to attach.
Step 6: Start WhatsApp
- Click the Start WhatsApp button.
- A popup will appear, prompting you to scan a QR code.
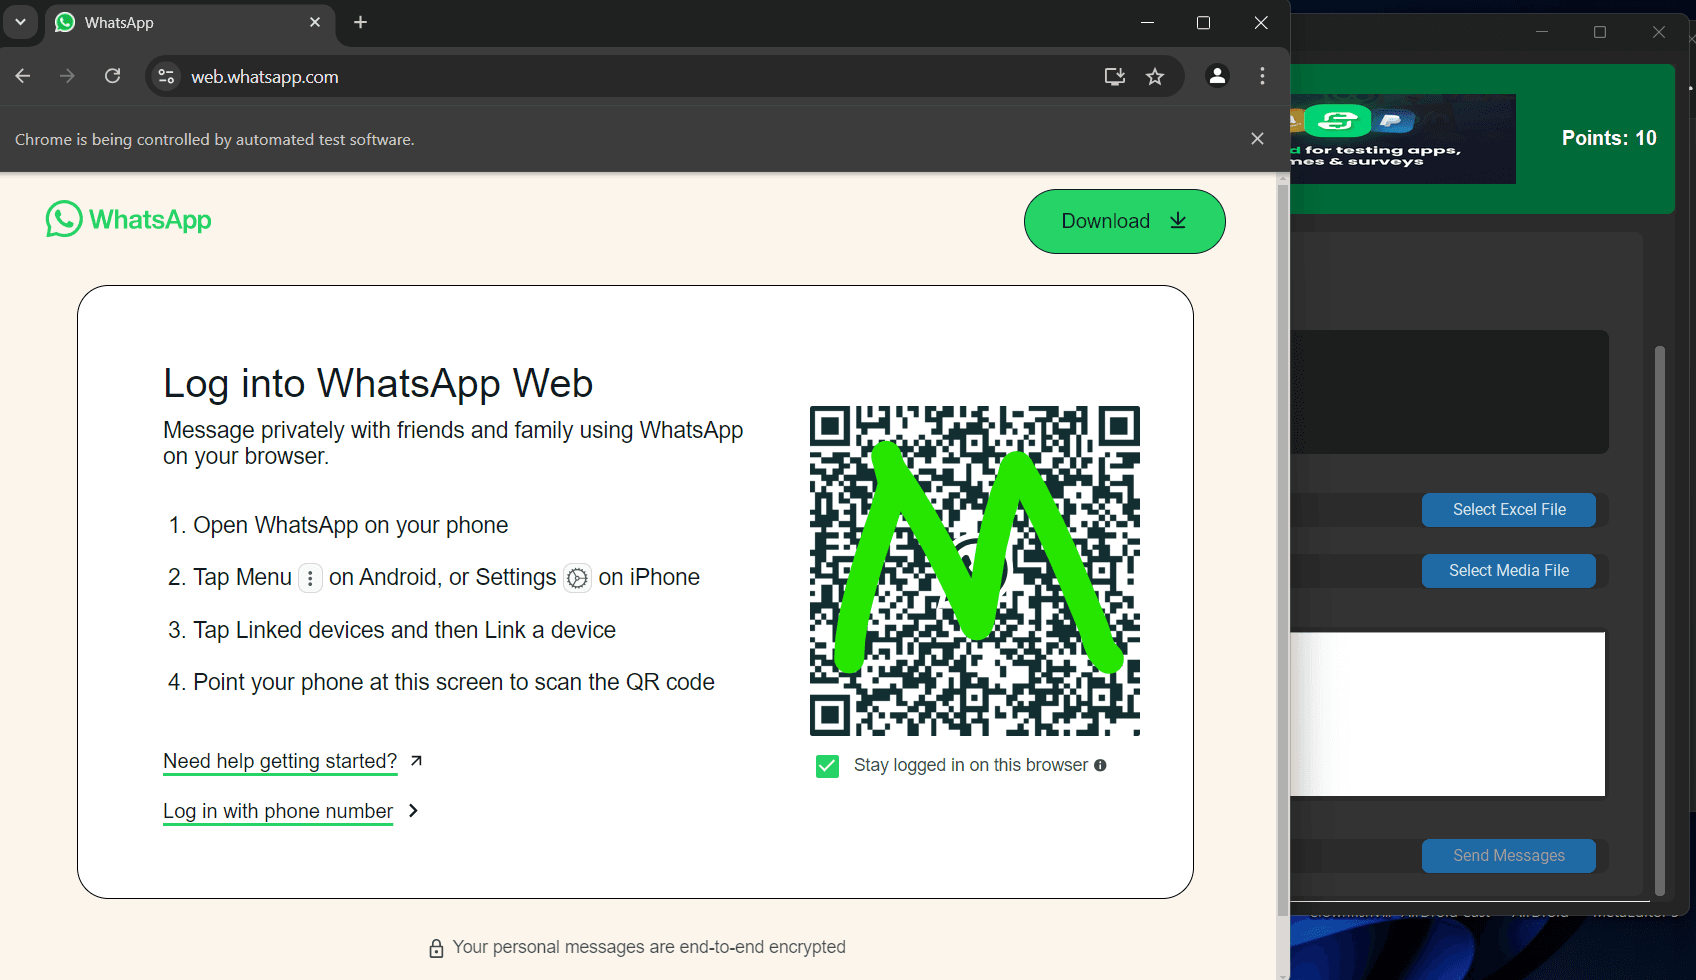
Scan the QR Code
- Open WhatsApp on your phone.
- Navigate to Linked Devices in the app.
- Tap Link a Device and scan the QR code displayed by WhatBotify.
Step 7: Verify QR
- Once the QR code is successfully scanned, click the Verify QR button in WhatBotify.
- Wait for confirmation that the connection is successful.
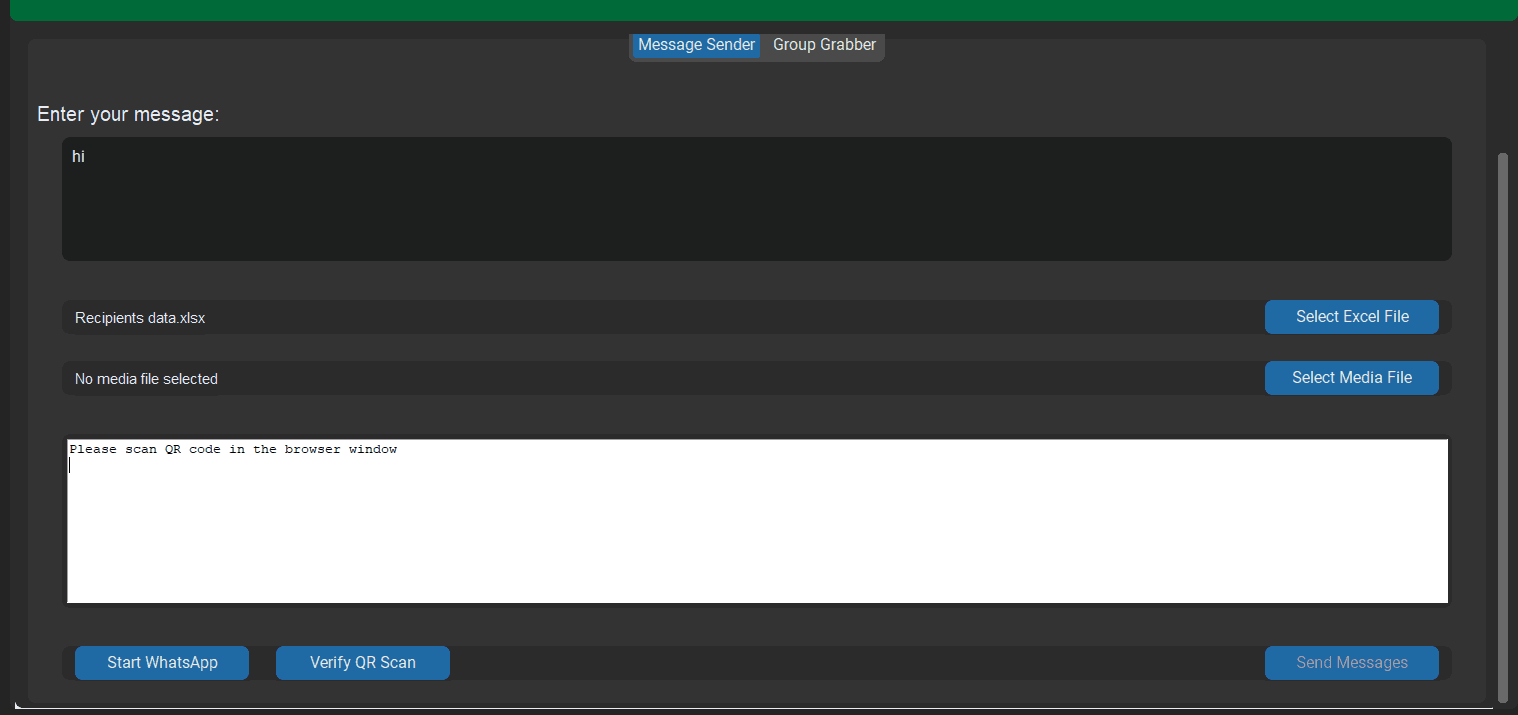
Step 8: Send Messages
- After verifying the QR code, click the Send Messages button.
- The bot will begin sending your typed message to the recipients listed in the Excel file.